Programming
This guide describes how to program the FoBE Quill ESP32S3 Mesh.
Arduino
If you use the Arduino IDE for programming, please see Quick Start - Setup the board.
The following describes how to program the FoBE Quill ESP32S3 Mesh with Arduino using PlatformIO.
Install PlatformIO
You can follow the official guide of PlatformIO to complete the installation.
Add Platform repository
- Open the PlatformIO Home and navigate to Platforms.
- Click "Advanced Installation" button.
- Input the git repository URL
https://github.com/fobe-projects/fobe-esp32-platformio.git#developthen click "Install" button, and wait for the installation to complete.

Or you can use the pio command line tool to install:
pio pkg install --platform https://github.com/fobe-projects/fobe-esp32-platformio.git#develop
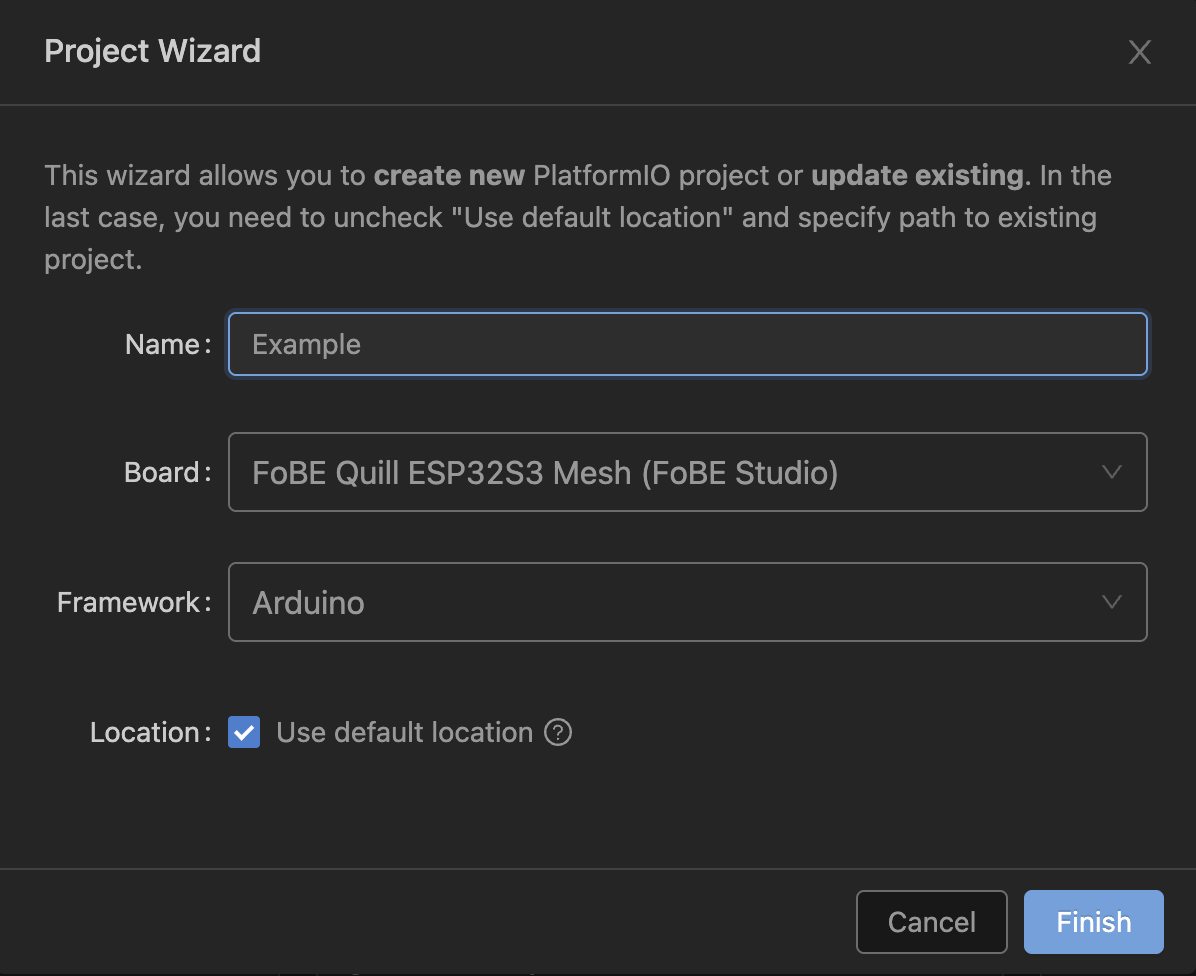
Create a new project
- Open the PlatformIO Home and navigate to Projects.
- Click "New Project" button.
- Input the project name, select the board "FoBE Quill ESP32S3 Mesh", and select the framework "Arduino".
- Click "Finish" button, waiting for the project created.
- Open the
src/main.cppfile and write your code.
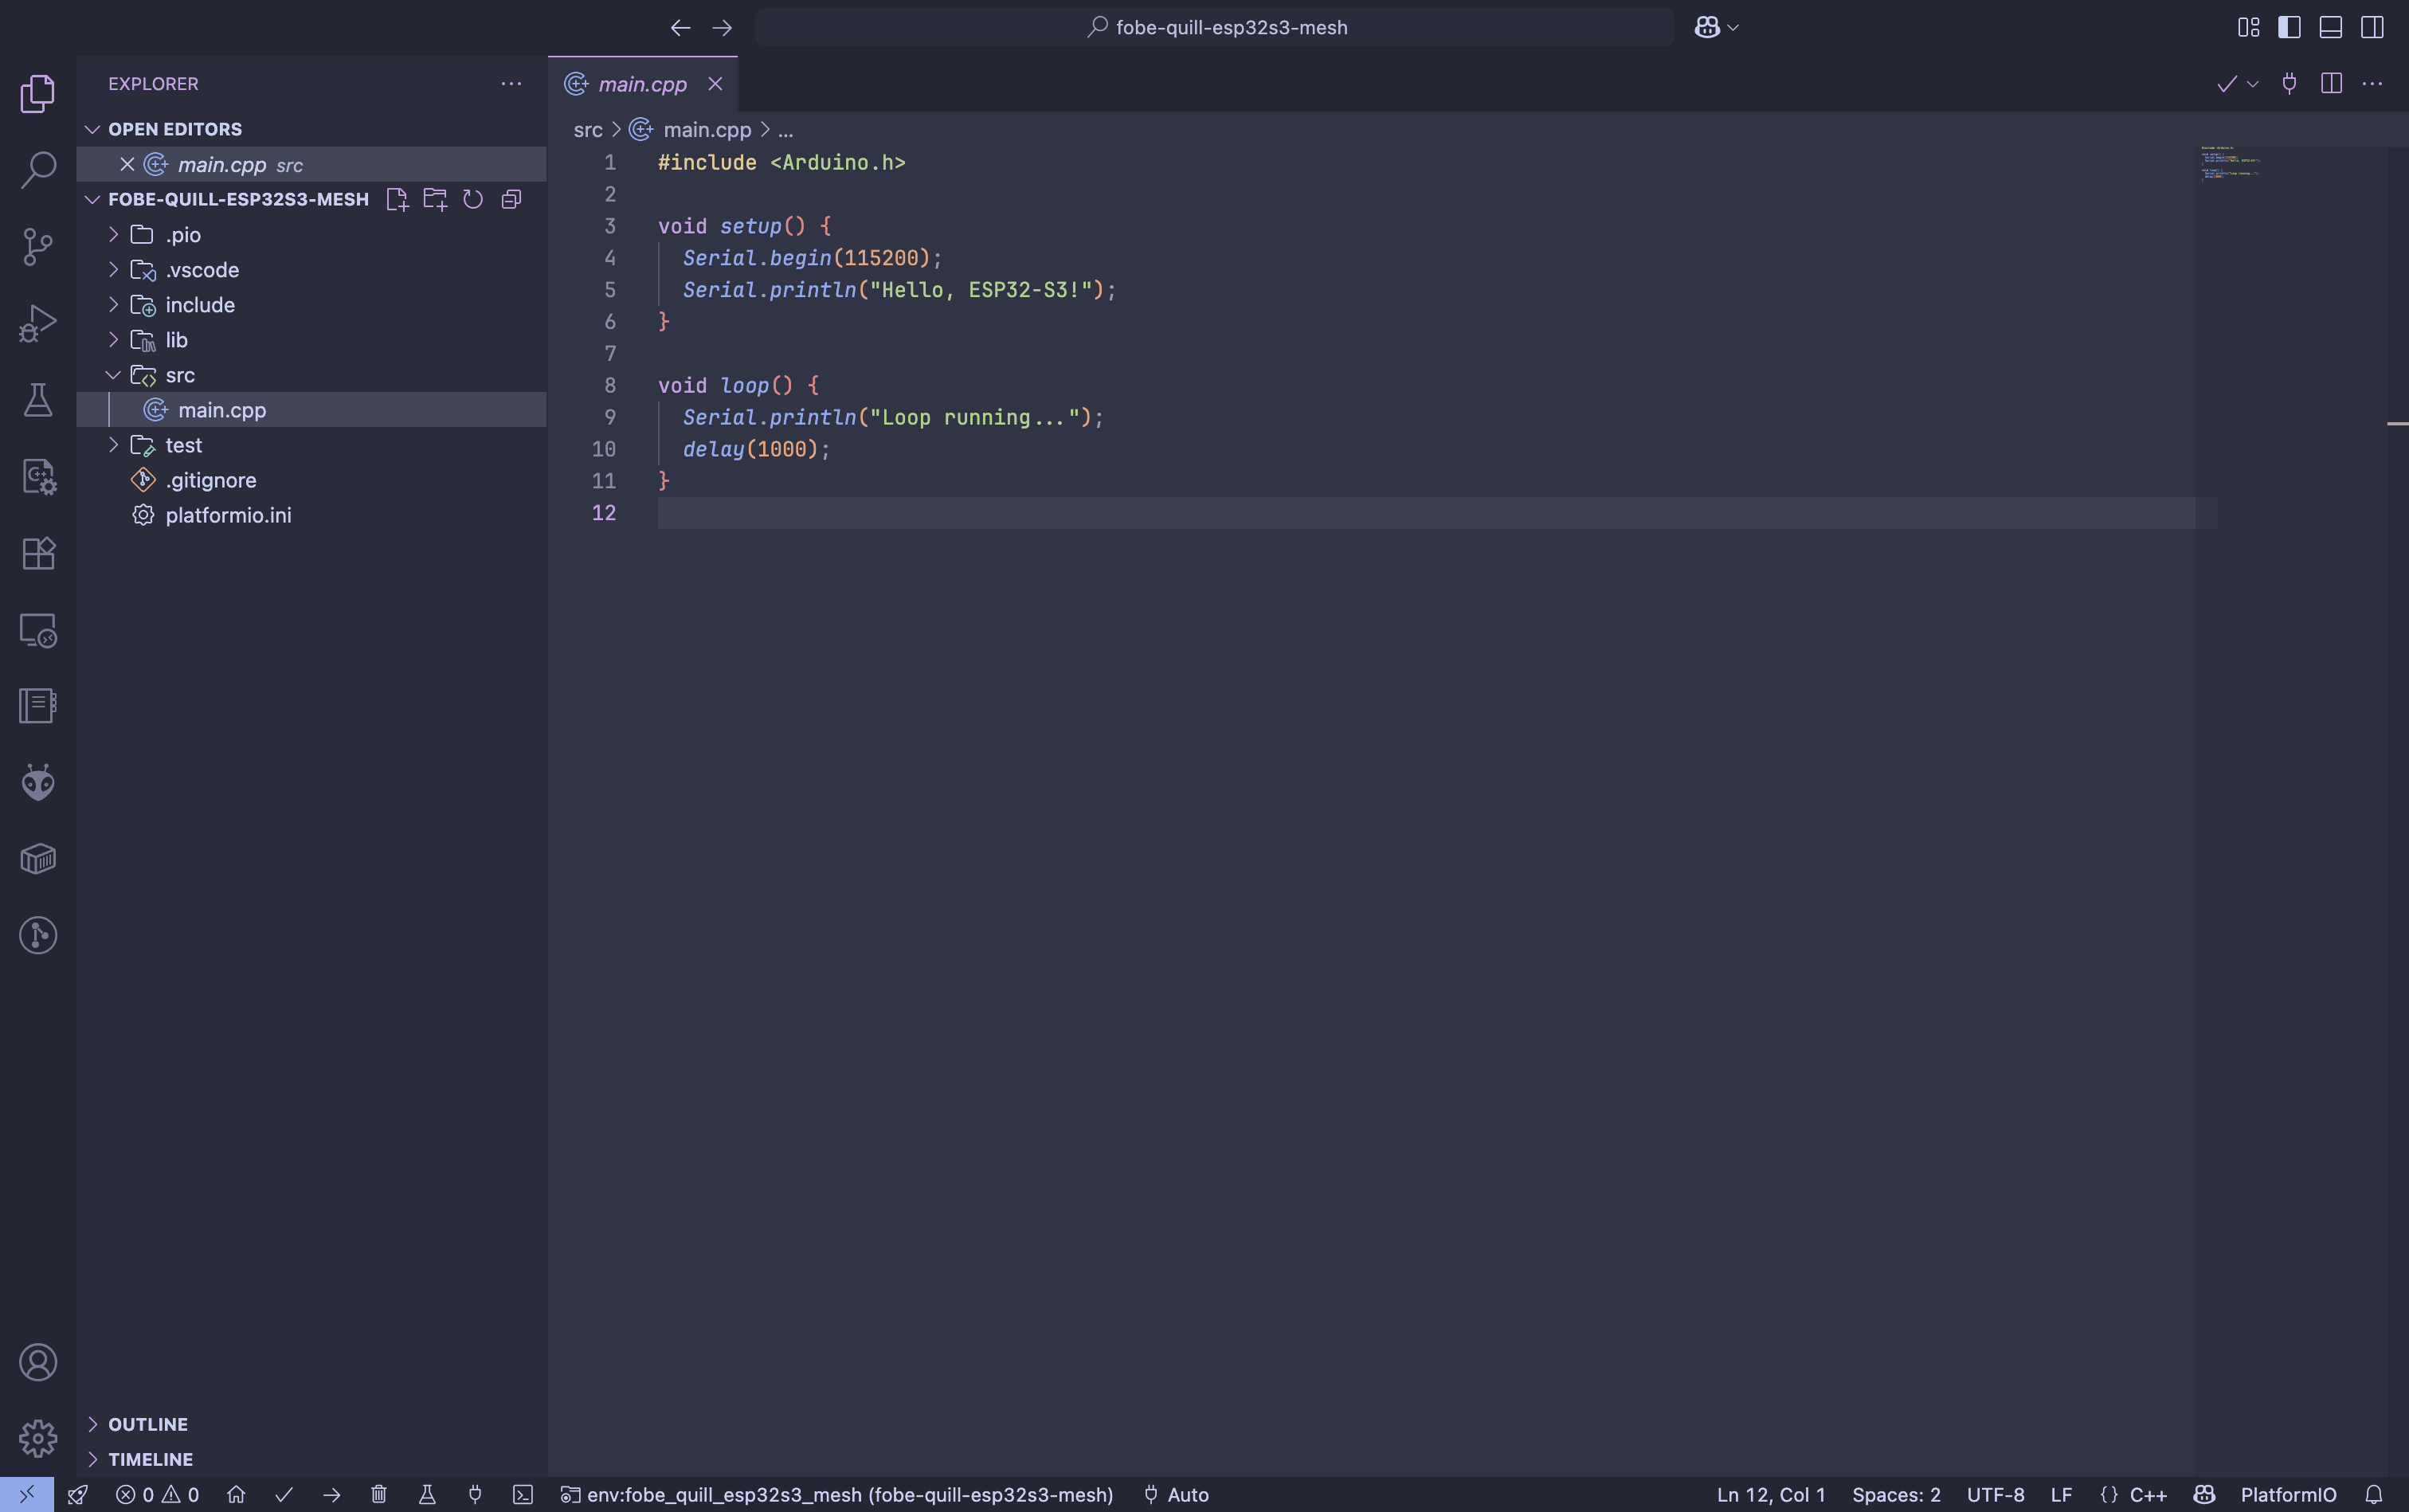
- Click the "Upload" button to compile and upload your code.

MicroPython
MicroPython is a lean and efficient implementation of the Python 3 programming language that includes a small subset of the Python standard library and is optimised to run on microcontrollers and in constrained environments.
To flash and run the MicroPython onto your device, please refer to the instructions in Platform MicroPython.
CircuitPython
CircuitPython is a version of Python designed to run on microcontrollers. It is based on MicroPython and includes additional features and libraries to simplify experimentation and learning.
To flash and run the CircuitPython onto your device, please refer to the instructions in Platform CircuitPython.
Zephyr
The Zephyr OS is based on a small-footprint kernel designed for use on resource-constrained and embedded systems: from simple embedded environmental sensors and LED wearables to sophisticated embedded controllers, smart watches, and IoT wireless applications.
To start the Zephyr firmware project onto your device, please refer to the instructions in Platform Zephyr - Install.
Project Board ID for FoBE Quill ESP32S3 Mesh
quill_esp32s3_mesh/esp32s3/procpu