Zephyr is a scalable real-time operating system (RTOS) supporting multiple hardware architectures, optimized for resource-constrained devices, and built with safety and security in mind.
Compatible
FoBE Zephyr SDK is a module designed for FoBE hardware, extending the official Zephyr repository with enhanced features and optimizations.
Setup
Before you start, make sure you have Python installed on your system.
-
Open Visual Studio Code and create a new folder for your project.
-
Create a virtual environment for the project
# Create a virtual environment
python3 -m venv .venv

# Activate the virtual environment
source .venv/bin/activate

# Install the required packages
pip install west -
Create
.west/configfile in the project directory with the following content[manifest]
path = app
file = west.yml
[zephyr]
base = zephyr -
Create app folder and add some files like
.west/
└── config
app/
├── CMakeLists.txt
├── prj.conf
├── west.yml
└── src
    └── main.c
Add
CMakeLists.txtfile with the following contentcmake_minimum_required(VERSION 3.20.0)
find_package(Zephyr REQUIRED HINTS $ENV{ZEPHYR_BASE})
project(app)
target_sources(app PRIVATE src/main.c)Add
prj.conffile with the following contentCONFIG_GPIO=yAdd
west.ymlfile with the following contentmanifest:
remotes:
- name: zephyr
url-base: https://github.com/zephyrproject-rtos
- name: fobe
url-base: https://github.com/fobe-projects
projects:
- name: zephyr
remote: zephyr
revision: v4.2.0
path: zephyr
import: true
- name: fobe-zephyr-sdk
remote: fobe
path: fobe
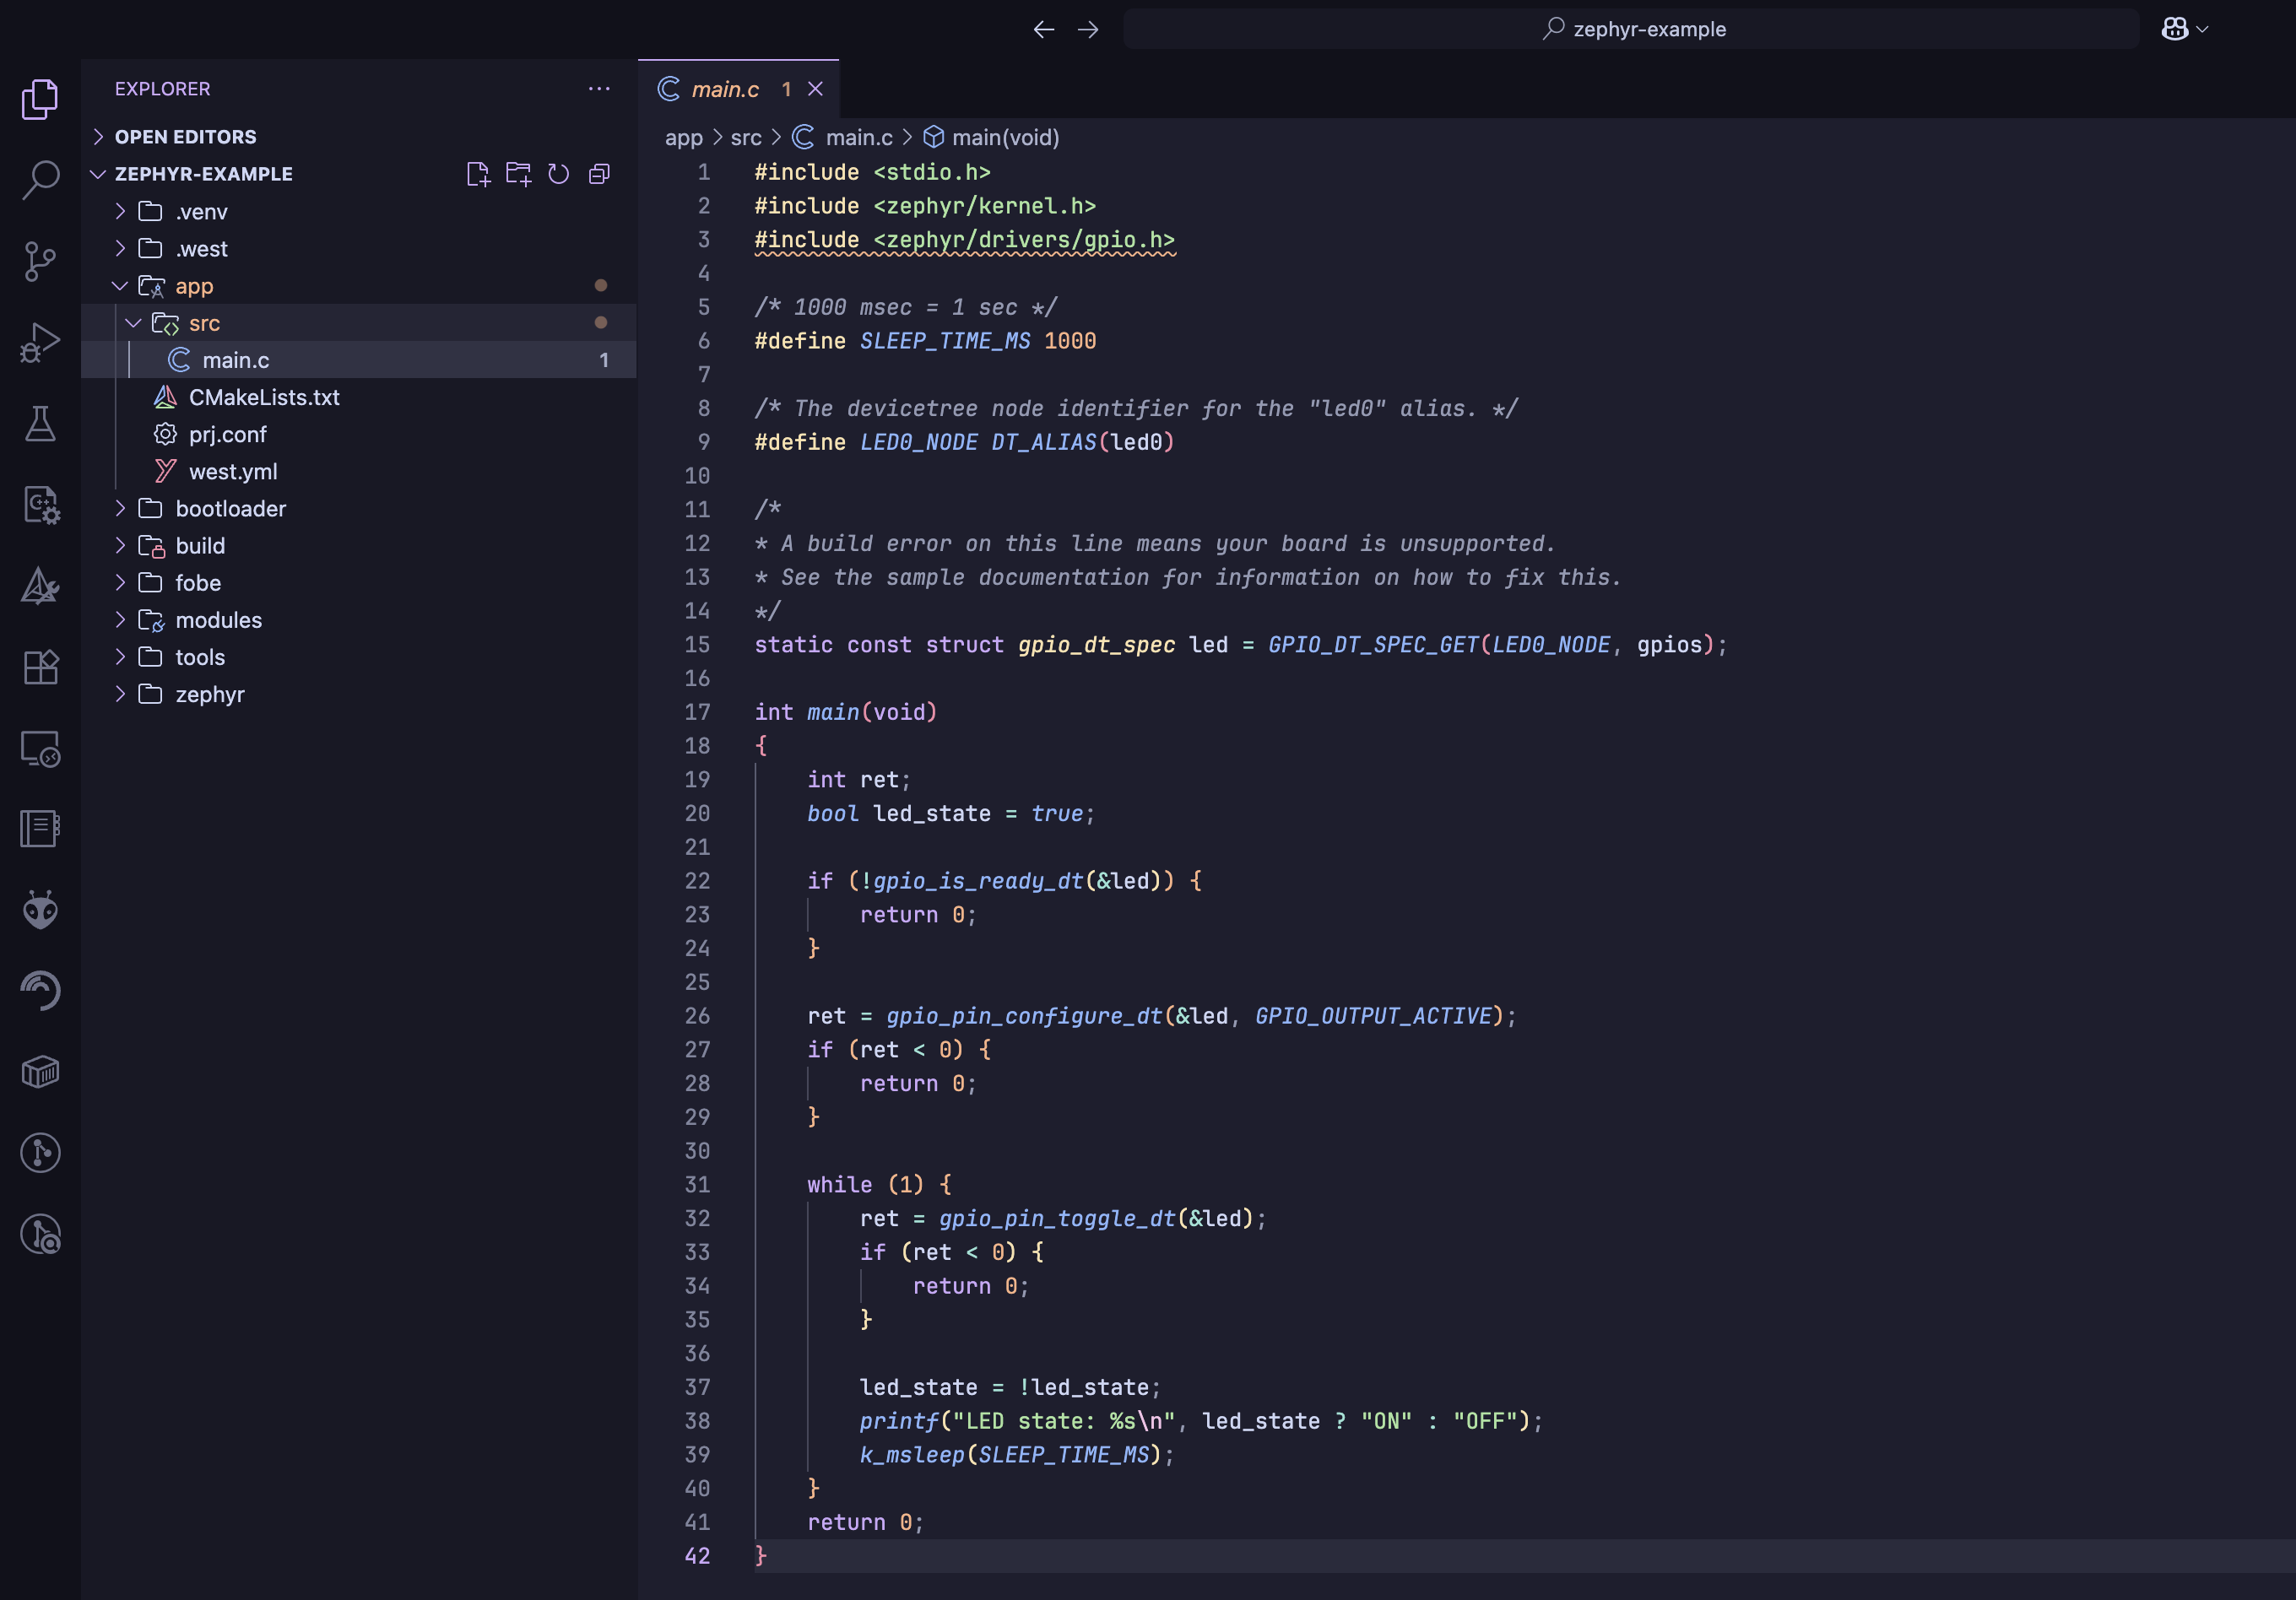
revision: mainAdd
src/main.cfile with the following content#include <stdio.h>
#include <zephyr/kernel.h>
#include <zephyr/drivers/gpio.h>
/* 1000 msec = 1 sec */
#define SLEEP_TIME_MS 1000
/* The devicetree node identifier for the "led0" alias. */
#define LED0_NODE DT_ALIAS(led0)
/*
* A build error on this line means your board is unsupported.
* See the sample documentation for information on how to fix this.
*/
static const struct gpio_dt_spec led = GPIO_DT_SPEC_GET(LED0_NODE, gpios);
int main(void)
{
int ret;
bool led_state = true;
if (!gpio_is_ready_dt(&led)) {
return 0;
}
ret = gpio_pin_configure_dt(&led, GPIO_OUTPUT_ACTIVE);
if (ret < 0) {
return 0;
}
while (1) {
ret = gpio_pin_toggle_dt(&led);
if (ret < 0) {
return 0;
}
led_state = !led_state;
printf("LED state: %s\n", led_state ? "ON" : "OFF");
k_msleep(SLEEP_TIME_MS);
}
return 0;
} -
Install and configure the Zephyr SDK
# Update the west workspace in your project directory, it will download the Zephyr SDK and other dependencies
west update

# Install packages required for building the project
west packages pip --install

# Install the Zephyr SDK
west sdk install -
Build and flash the project
Double-click the reset button on the device to enter bootloader mode, then run the following commands in the terminal
# Build the project for the FoBE board
west build -b <board_name> ./app

# Flash the project to the board
west flash --runner uf2tipReplace
<board_name>with the appropriate board name for your FoBE device. For example, for the FoBE Quill nRF52840 Mesh board, usequill_nrf52840_mesh.importantDifferent boards may have different flash methods. Please refer to the specific board documentation for detailed instructions on how to enter bootloader mode and flash the firmware.
Now you have a simple LED blinking example (Zephyr Standalone project) running on the board.
More information about the Zephyr can be found in the Zephyr documentation.
You can also explore the FoBE Zephyr SDK for more details on using the FoBE Zephyr SDK.